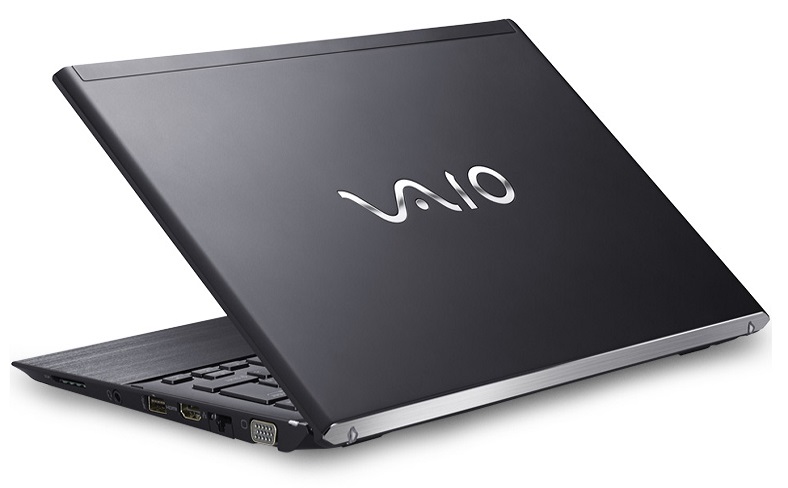
Vaio, known as Visual Audio Intelligent Organizer was introduced in 1993 as a branch of sony. The process of starting a machine is known as booting. It is triggered by either hardware, such as a button push, or software, such as an order.
The central processing unit (CPU) of a computer has no software in its main memory when it is turned on, so some processes must load software into memory before it can be executed. This can be achieved by the CPU’s hardware or firmware, or by a different processor in the device.
How To Boot Sony Vaio From Pendrive
To boot your Sony Vaio (E-series) laptop from Pendrive or an external USB, follow the given steps;
- First of all, connect a USB flash drive or pen drive to your Sony Vaio E series laptop.
- Now switch on your pc by clicking on the power button.
- Click the F2 key to enter in BIOS (Basic Input or Output System) setup. If the BIOS menu does not appear, keep on pressing the F2 key button.
- You can boot from a floppy disc, a hard drive, a CD ROM drive, or an external computer using BIOS settings. You can now configure the order that your computer searches for the physical devices for boot sequence.
- When you enter the BIOS setup, go to the boot menu. The boot sequence mentioned first in this priority. Now default hard disk gets selected.
- Now you can select a USB or external device and then press the ‘+’ button on the keyboard.
- Save everything you have done till now and restart the system with plugging USB.
How to boot the Sony Vaio system using a bootable USB/disc (Windows 10)?
To boot your Sony Vaio system using a bootable USB/disc (windows 10), follow the given steps;
- You should plug in your bootable pen drive to your system and then click on the ‘Assist’ button seen on the keyboard.
- Now you directed to vaiocare – rescue mode.
- From there, select the option, ‘start from media (USB device/optical disc) and press F11
- Now your system will get to restart again
- From the window appearing next, click on the option that you want to install.
How to boot Sony Vaio from CD?
If you want to restore your Sony VAIO Windows device to factory settings, update missing drives, or fix any malfunctions caused by a virus or malware, you can boot it from a CD. To know more details to boot sony Vaio from CD, follow the given steps;
- First of all, you should turn on your Sony Vaio computer.
Insert the CD which you want to boot your computer into the optical disk drive. - Now, power off your pc and power on your computer back, and press F11 continuously as it boots up. Your computer automatically boots up through the CD you have inserted.
- If you have the Startup Recovery Disc installed, the Sony VAIO Recovery Wizard will appear onscreen when the device starts up and guide you through the process of restoring your machine.
How to open BIOS settings in sony Vaio?
Many standard BIOS features are available on Sony VAIO models, including hard disc customization options, startup protocols, and details on hardware components. Business administrators can customize a computer’s available hardware settings using bios.
To open BIOS settings in sony Vaio, follow the given steps;
- Firstly, switch on or restart your Sony VAIO computer, to display its initial splash screen or main logo.
- Now, press the F2 key on your keyboard to enter the BIOS. You can press the key several times before the operating system loads if required.
- You can make the required BIOS changes. The BIOS screen usually has a blue, red, or grey colored background with the acronym “BIOS” or “CMOS Setup Utility” towards the top of the screen.
- To save all settings, press the F10 key, or otherwise, you can press the Esc key on your keyboard,
- Now then select to exit without saving any changes when asked.
For more updates, bookmark our page Timesalert.
Contents


